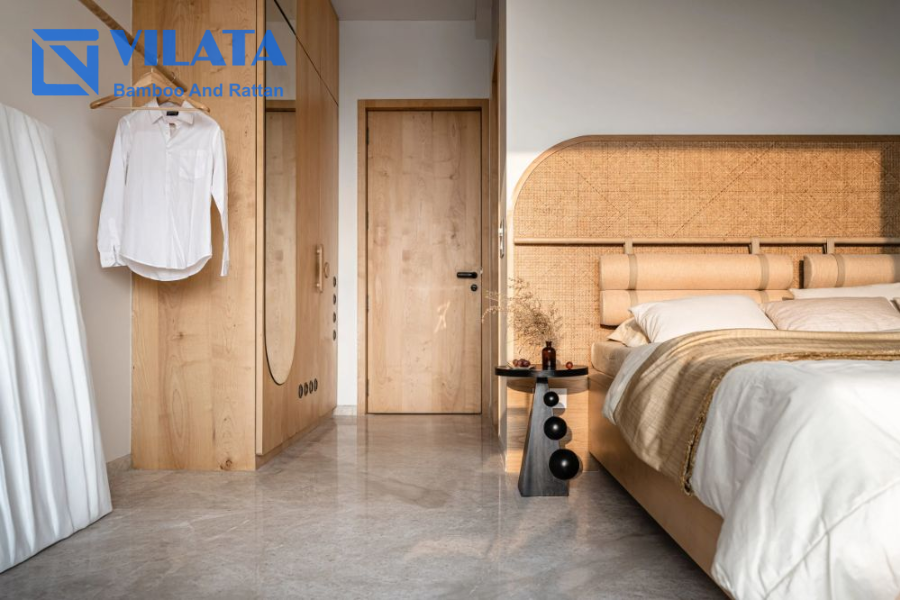
The world of interior design is currently experiencing a beautiful and natural revival. The clean lines and organic textures of Mid-Century Modern and coastal aesthetics are dominating home decor, and at the center of this trend is cane webbing.
The iconic woven patterns of rattan furniture evoke a sense of timeless elegance, craftsmanship, and warmth. From sleek designer credenzas to vintage dining chairs, cane detailing has become a hallmark of sophisticated, contemporary living.
However, acquiring these sought-after pieces can come with a staggering price tag. High-end retailers often price new cane furniture far out of reach for the average homeowner, leading many to feel excluded from this beautiful movement.
This is where the power of Cane Webbing DIY comes in.
This guide is your passport to achieving that coveted, high-end look without emptying your wallet. By learning how to work with cane webbing fabric, you can revitalize tired furniture, customize mass-market pieces, and craft bespoke decor. We’ll show you exactly how to source cane webbing cheaply, what essential cane webbing supplies you need, and how even a beginner can successfully execute stunning transformations using either traditional woven sheets or the beginner-friendly cane webbing contact paper. Get ready to upgrade your home with your own two hands!
Getting Started: Choosing Your Cane Webbing Supplies
The success of any cane webbing diy project hinges on selecting the right materials. Understanding the different types of webbing and their applications will ensure your finished piece looks professional and lasts for years.
The Heart of the Project: Real Cane Webbing Sheets
Traditional cane webbing is crafted from the outer skin of the rattan vine. It is woven into sheets or cane webbing rolls and requires proper preparation. The two main types are:
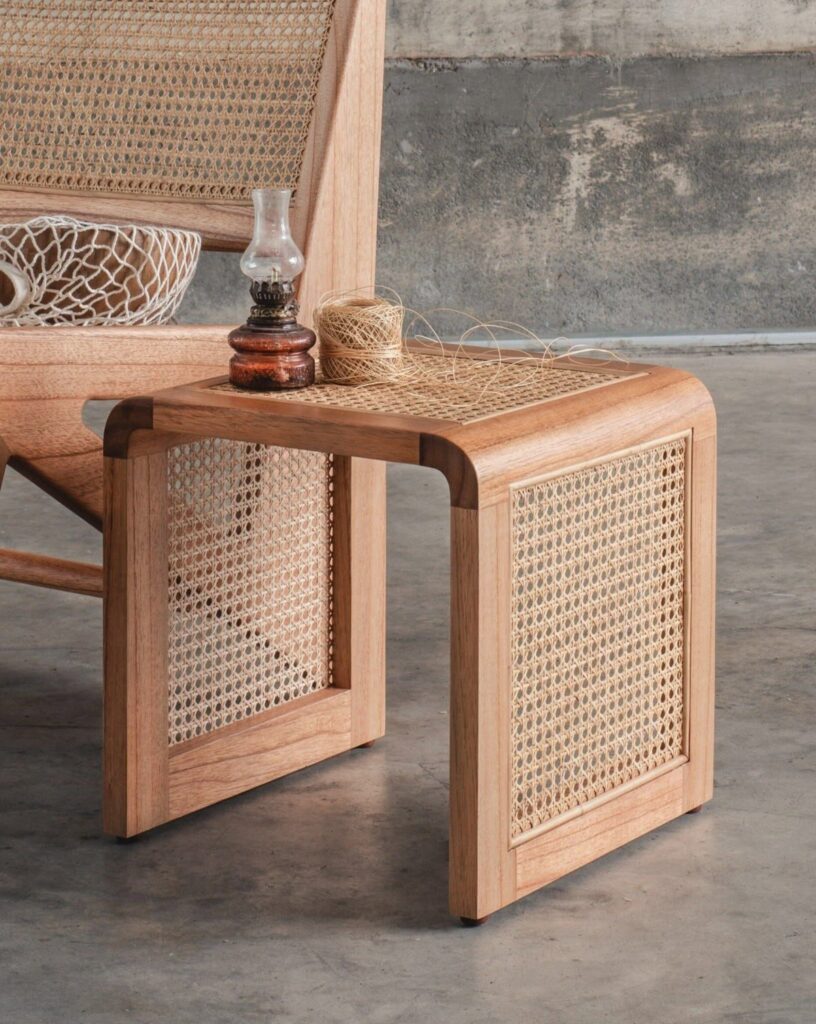
- Open-Weave (Octagonal): This is the classic, six-way weave with small openings. It is structurally strong, breathable, and traditionally used for chair backs and seats. Most furniture upcycling projects utilize this weave for its transparent, airy look.
- Close-Woven (Solid): This pattern is tightly woven with no holes. It offers a more solid, contemporary texture and is perfect when you need to hide the contents of a cabinet or drawer behind the panel.
Buying Tip to Keep it Cane Webbing Cheap: When purchasing your material, inquire about the “grade.” Grade Aoffers perfect consistency, ideal for pieces that will be closely inspected (like a dining chair back). Grade B sheets may have minor color variations or tiny breaks, but they are significantly more affordable and perfectly suited for projects where the material is applied behind a frame, such as cabinet doors or larger decorative panels. Buying a full roll, even if you don’t need all of it immediately, often results in a better price per foot, allowing you to stockpile cane webbing supplies for future cane webbing diy ideas.
The Game-Changer: Exploring Cane Webbing Contact Paper (The Beginner’s Alternative)
For those hesitant to dive into traditional preparation (soaking, stretching, stapling), or for renters who need a temporary solution, cane webbing contact paper is a revolutionary product.
This material is essentially a highly realistic, self-adhesive paper featuring a printed or embossed cane pattern.
- Pros: It requires no soaking, no heavy tools, and can be applied quickly and cleanly, making it extremely time- and cane webbing cheap and efficient.
- Cons: It offers only the visual aesthetic and none of the structural or breathable qualities of real cane.
- Best Application: Ideal for surfaces that are purely decorative, like the fronts of IKEA cabinet inserts, the interior of bookshelves, or backing for wall art. If you are looking for the fastest, lowest-cost cane webbing diy solution, this is your answer.
Other Essential Cane Webbing Supplies
Regardless of whether you choose real cane or contact paper, you will need a few basic items:
- Cutting Tools: A sharp utility knife and heavy-duty scissors.
- Adhesive (For Real Cane): Strong wood glue or heavy-duty spray adhesive.
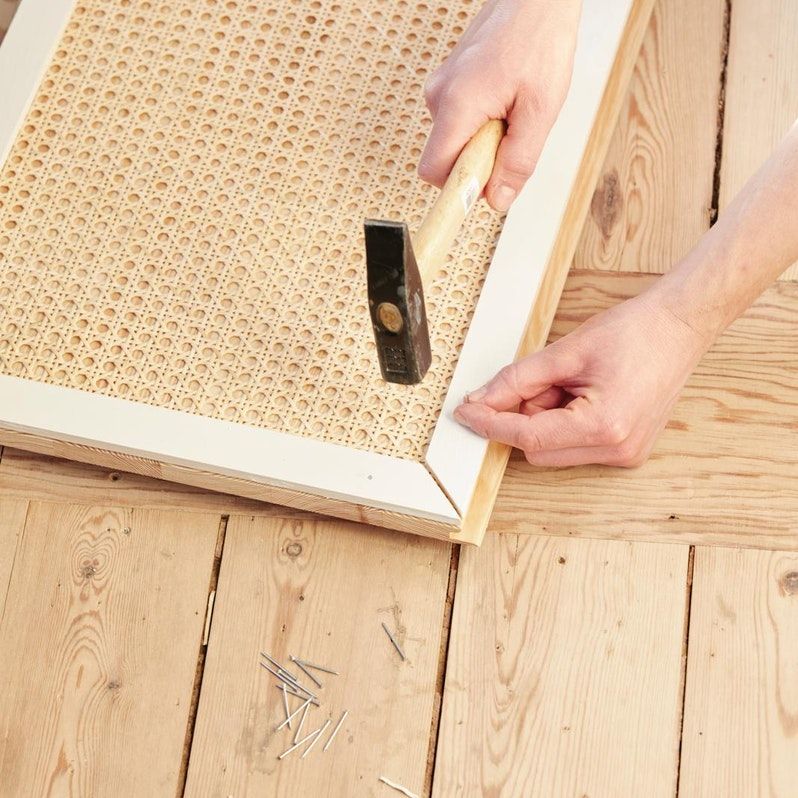
- Securing Tools: A staple gun (with short staples) for holding the edges of the real cane tight.
- Optional but Recommended: A spline (a thin reed used to lock cane into a routed groove, essential for chair repair), and clamps/masking tape for holding pieces in place while glue dries.
The Step-by-Step DIY Workbench: 3 Most Popular Projects
Ready to start your cane webbing diy journey? Here are three easy-to-manage projects that will instantly elevate your space.
Project 1: The Dresser Drawer Makeover (Beginner Level)
This is perhaps the most popular and simplest cane webbing diy project, perfect for adding texture to flat-front drawers (like the popular IKEA Malm or Hemnes lines).
- Prep the Surface: Remove the drawer handles. Lightly sand the area of the drawer face where the cane will be applied.
- Measure and Cut: Measure the area precisely. For this project, you can successfully use either real cane (glued on) or cane webbing contact paper. The contact paper is much simpler and faster.
- Application (Contact Paper): Slowly peel the backing paper off the contact paper and carefully lay it onto the drawer face, smoothing out air bubbles as you go. Trim any excess carefully with a utility knife along the edges.
- Application (Real Cane): If using real cane, follow the soaking procedure (see Tips below). Apply a strong wood glue to the drawer front, lay the cane carefully, and use heavy books or clamps to ensure full contact while the glue dries. Once dry, trim the edges.
- Finish: Drill pilot holes through the cane for the handles and reattach the hardware. Instant high-end transformation!
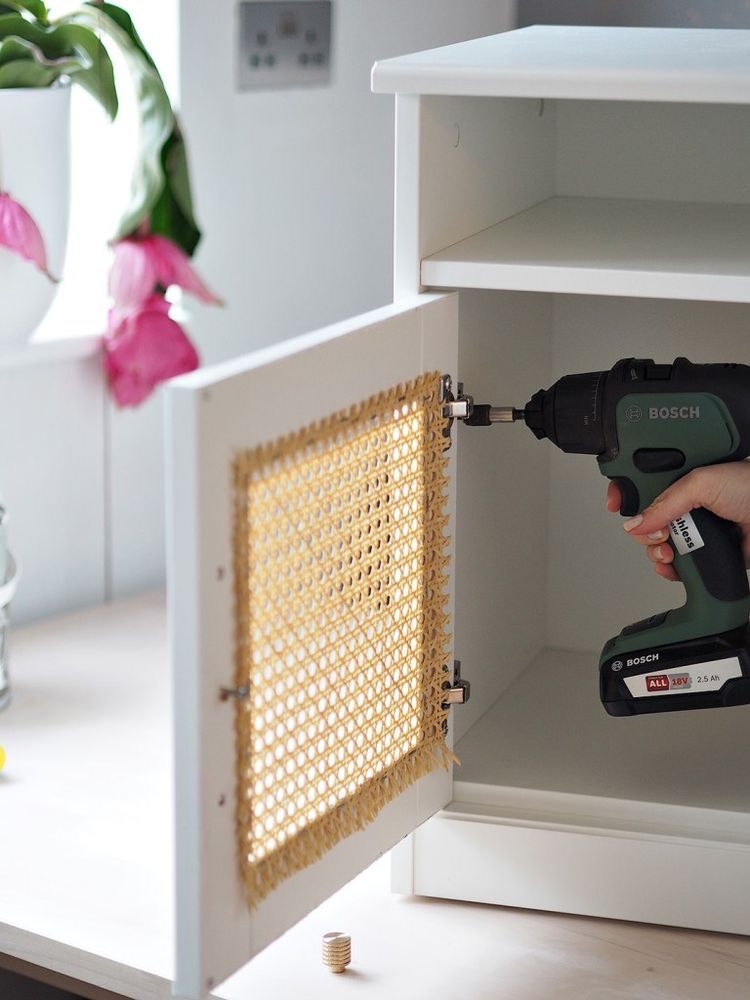
Project 2: The Cabinet Door Insert (Intermediate Level)

This project is ideal for existing furniture (like armoires or pantries) that have removable wooden panels in their doors.
- Disassemble: Carefully remove the door from the cabinet and remove the central wooden panel. You will now have an empty frame.
- Soak the Cane: This step is mandatory for real cane. Submerge the cut-to-size webbing into warm water for at least 30 minutes. The cane will become pliable.
- Secure and Staple: While still wet, place the webbing over the inside edge of the empty frame. The cane should be slightly larger than the opening. Using a staple gun, staple the cane to the back side of the frame, ensuring you pull it as tight as you can without tearing.
- Dry and Assemble: Allow the cane to dry completely (this can take 12–24 hours). As the water evaporates, the cane will shrink and tighten, creating a drum-tight, professional-looking surface. Reattach the finished frame to the door.
Project 3: Utilizing Scraps for Wall Art (Zero Waste)

Don’t let those leftover bits of cane webbing fabric go to waste! Use them to make affordable wall decor. This keeps your project truly cane webbing cheap.
- Find a Frame: Source an old, unwanted picture frame from a thrift store or a dollar store.
- Mount the Cane: Cut the scrap piece of cane webbing slightly larger than the opening of the frame’s backing board. Glue or staple the cane scrap directly to the backing board.
- Assemble: Place the backing board (now covered in cane) back into the frame. You have created a minimalist, textural wall hanging that costs virtually nothing!
Editor’s Corner: Tips & Tricks from the Pros
Tip 1: The Soaking Secret (The Key to Professional Cane) If you are using real cane webbing, you must soak it. Cutting the cane while it is wet is easier, but the real magic happens when it dries. The shrinking process pulls the woven fibers tight, eliminating any slack and resulting in that beautiful, taught, drum-like finish found on high-end pieces. Never skip this step!
Tip 2: Saving on Cane Webbing Cheap Supplies Look for wholesalers or large DIY retailers that sell cane by the yard rather than by pre-cut sheet sizes. Often, the per-unit price is much lower. For smaller projects, search online DIY marketplaces (like Etsy) for “cane remnants” or “scraps,” which are significantly discounted.
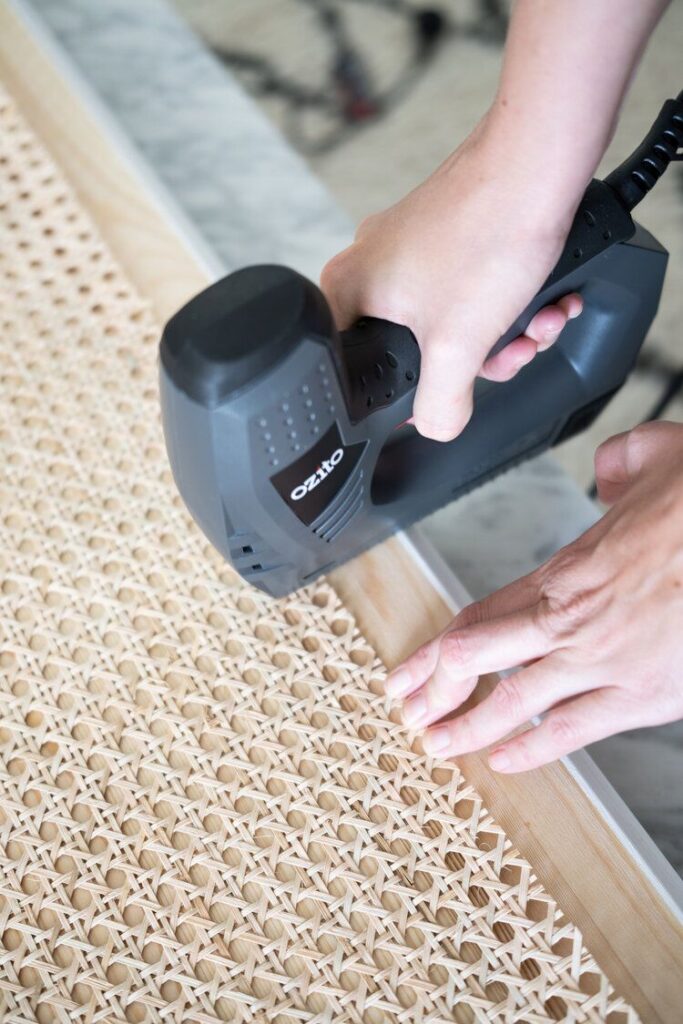
Tip 3: Finishing the Edges For any project where the edge of the cut cane is visible (like on a simple wood-framed screen), use a thin strip of natural wood veneer or a quarter-round moulding strip, secured with tiny finishing nails or glue, to cover the raw edge of the cane webbing mesh. This instantly elevates the piece from “DIY” to “custom built.”
Conclusion: Your Home, Elevated
The barrier to high-end design is no longer cost—it’s only motivation. With a little effort and the right cane webbing supplies, you can completely overhaul the look and feel of your furniture.
The Cane Webbing DIY trend is more than just aesthetics; it’s about sustainable living, giving old pieces new life, and celebrating the satisfaction of building something beautiful with your own hands. Whether you opt for the simplicity of cane webbing contact paper or the traditional craft of real cane webbing fabric, you are participating in a timeless trend while keeping your budget firmly in check.
Stop admiring those expensive pieces online and start creating your own custom furniture today!